win10安装GoLang和Goland
一、安装Go
1、下载Go安装包

2、安装
3、设置GOPATH工作目录
4、环境变量配置
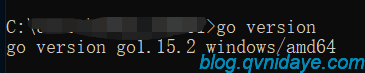
5、验证
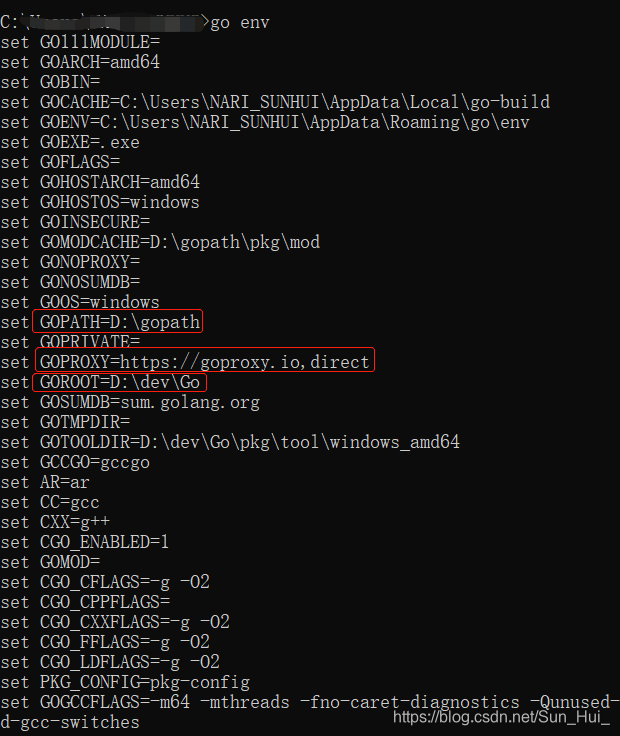
6、修改GOPROXY
go修改阿里云源
go env -w GOPROXY=https://mirrors.aliyun.com/goproxy/
阿里云
配置如下:
export GOPROXY=https://mirrors.aliyun.com/goproxy/
nexus社区提供的
配置如下:
export GOPROXY=https://gonexus.dev
goproxy.io 的
配置如下:
export GOPROXY=https://goproxy.io/
基于athens的公共服务
配置如下:
export GOPROXY=https://athens.azurefd.net

官方提供的(jfrog,golang)
export GOPROXY=https://gocenter.io
export GOPROXY=https://proxy.golang.org

七牛云赞助支持的
export GOPROXY=https://goproxy.cn
二、安装并配置Goland
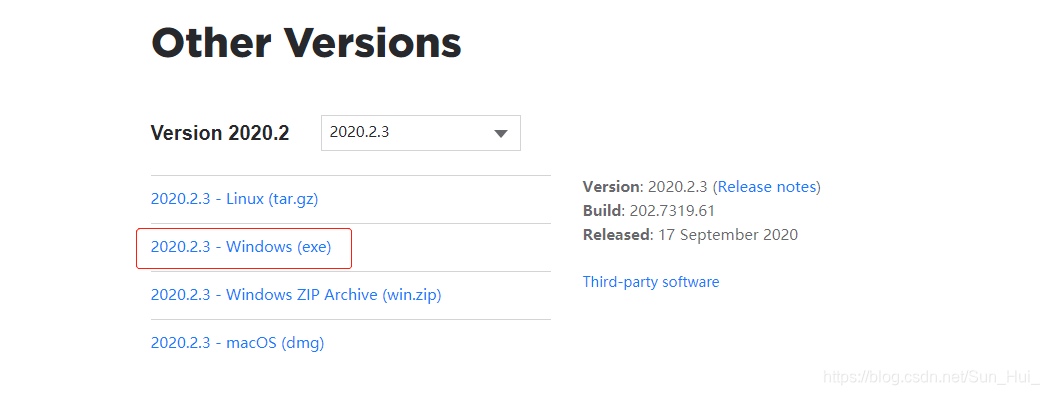
1、下载Goland
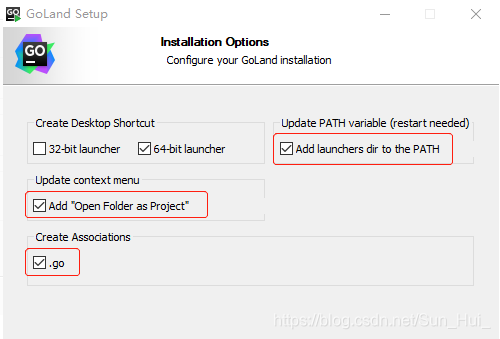
2、安装Goland
3、激活
4、配置Goland


无论从事什么行业,只要做好两件事就够了,一个是你的专业、一个是你的人品,专业决定了你的存在,人品决定了你的人脉,剩下的就是坚持,用善良專業和真诚赢取更多的信任。
- 上一篇: 解决hyperf中方法需要实现接口的问题
- 下一篇: No route to host

- 最新评论
- 总共0条评论